

Tarot Pouch Pattern - Beginner Friendly
Did your tarot card box fall apart in your hands like mine did?
B
2/22/20264 min read
After the top of my tarot box finally gave up and ripped off completely, I looked at my giant stash of black yarn (that I bought 300 grams of for unknown reasons) and realized it would be the perfect replacement.
Before we get started just a few notes on the type of yarn you want to use.
You don't want a yarn that is too silky in quality, mine was a wool and polyster mix. The rough wool texture combined with the moss stitch ensures the pouch stays closed.
A small sized yarn would work best with this as you wouldn't get too much detail to show in a chunky size and/or it's probably just unfeasable to shape it poperly.
If you are using a different sized yarn the easiest way to measure the correct size is to crochet 2 or 3 rows and measure it against your cards. You want to it to be just over the halfway mark on both sides when measuring vertically.

Some other options to consider that might be important to you is color of the yarn.
Black is a very protective and grounding color that I liked for this project. The cards to me are very personal and while I occasionally do readings for close friends, I don't use them for anyone else. So I find comfort that when I put them back in their pouch they will not be influenced by other energies that might be around.
However black might not be the best option for everyone.
If you like working with spirits and using the cards as more of a communication technique then maybe purple would work better. Purple is associated with spirituality and psychic ability. Being a high-vibration color it is also used in protective workings, ex. Amethyst. Bit of a double whammy there.
Or it can be as simple as picking your favorite color/yarn combination. The choice is always yours and sometimes it's best to go with whatever puts a smile on your face.
Now on to the pattern.
This a simple moss stitch with only a few rows that contain stitch decreases. It uses a size 2 yarn with a 3.25mm hook.
Tarot Card Pouch Pattern - Beginner Friendly
Chain (ch) 44 + 2 to turn
R1: single crochet (sc) into the 4th chain from the hook, *ch 1, skip 1 chain, sc in the next chain; repeat from the * symbol until the end of the row
R2: ch2 and turn, skip the sc, sc into the ch1 space, *ch1, sc into the ch1 space; repeat from * until the end of the row
R3-85: repeat R2
R86: ch2 and turn, skip the first ch1 space, sc into the 2nd ch1 space, *ch1, sc into the ch1 space; repeat from * until the end of the row
R87-89: repeat R86
R90-117: repeat R2
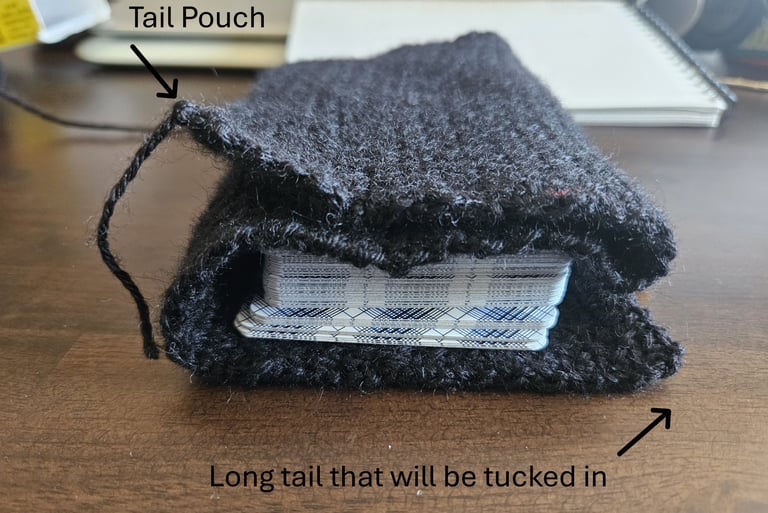
After finishing row 117, cut the leading yarn leaving 6 or so inches to weave in
Now lets put it all together.
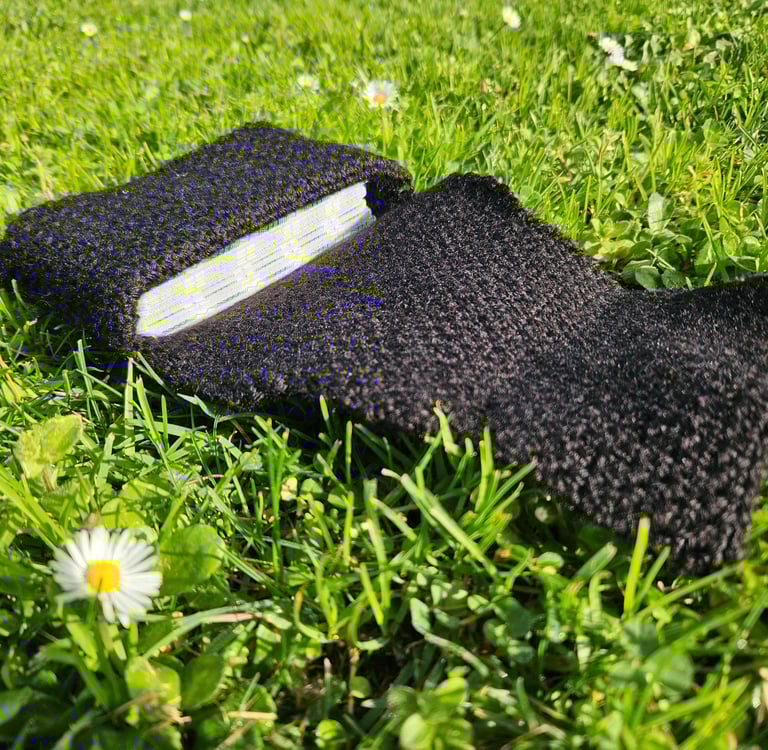
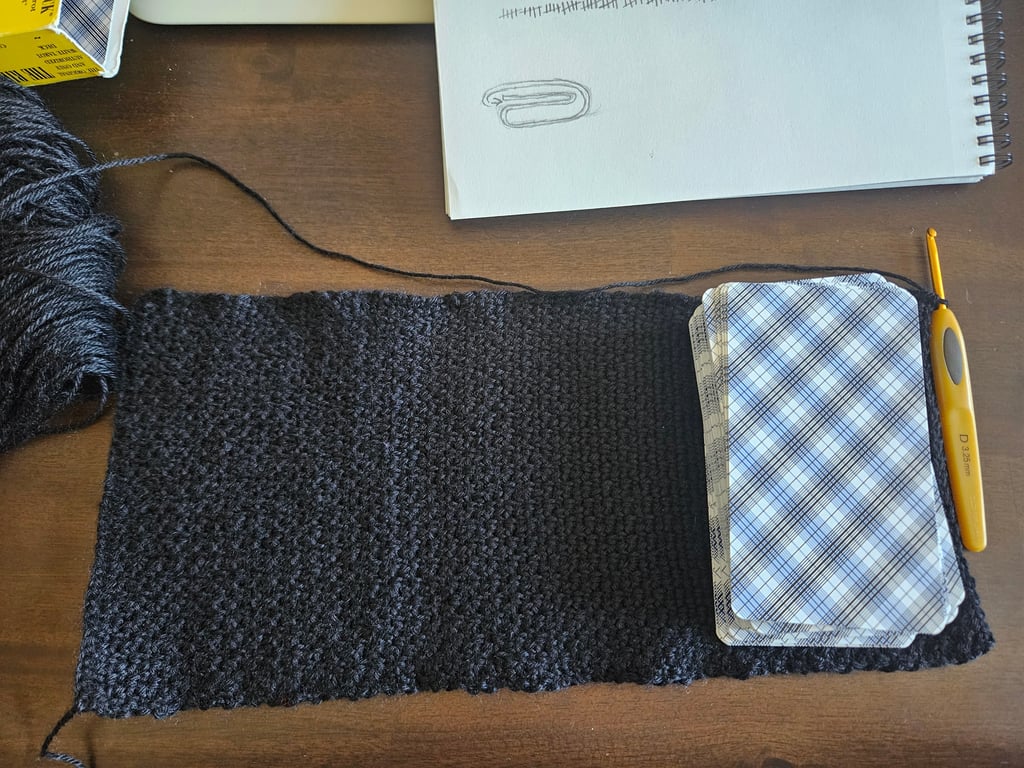
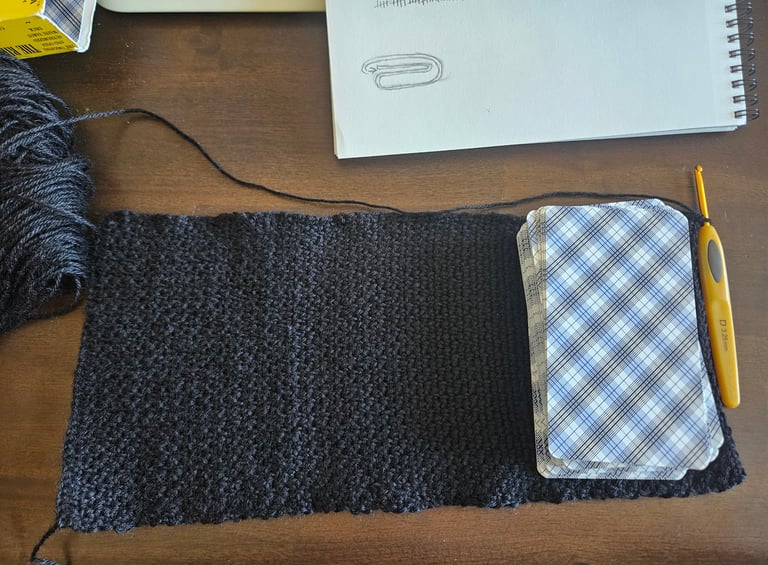
Take the beginning of the project, the wide end, and place your tarot card stack close to where the rows start decreasing, as partially shown below. (I personally did this part midway through crocheting because I wanted to make sure it would come out properly so the picture does not show the full piece complete.)
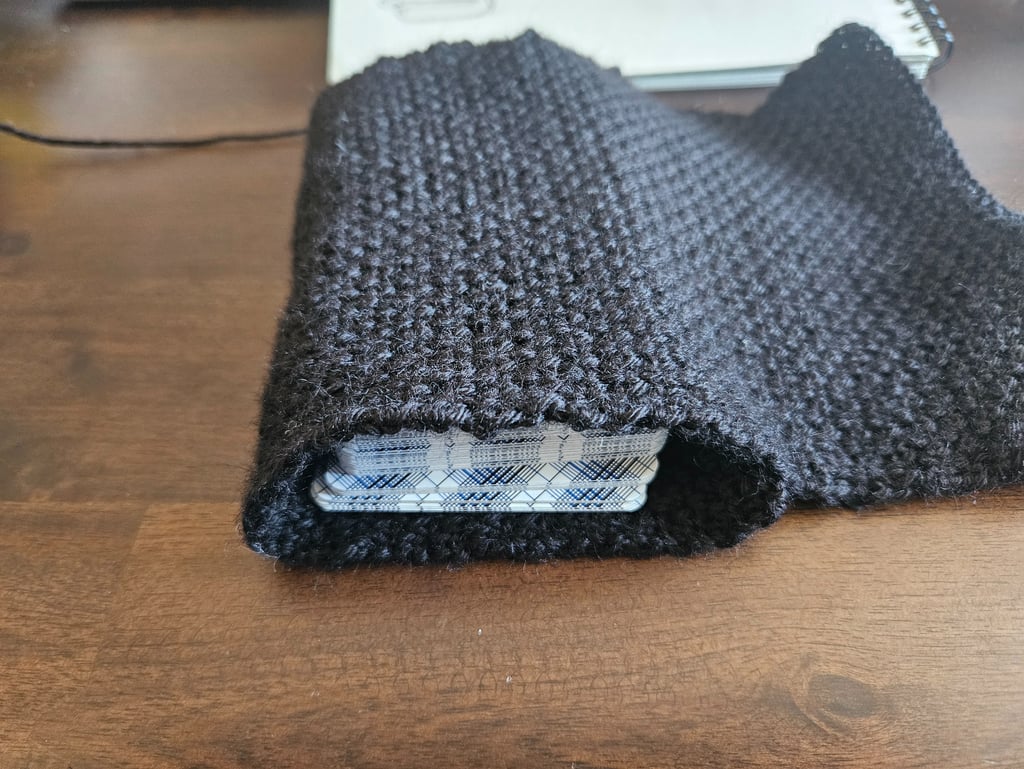
Now the first fold will be taking the long piece on the left side and pulling it over the top of the cards as shown below.
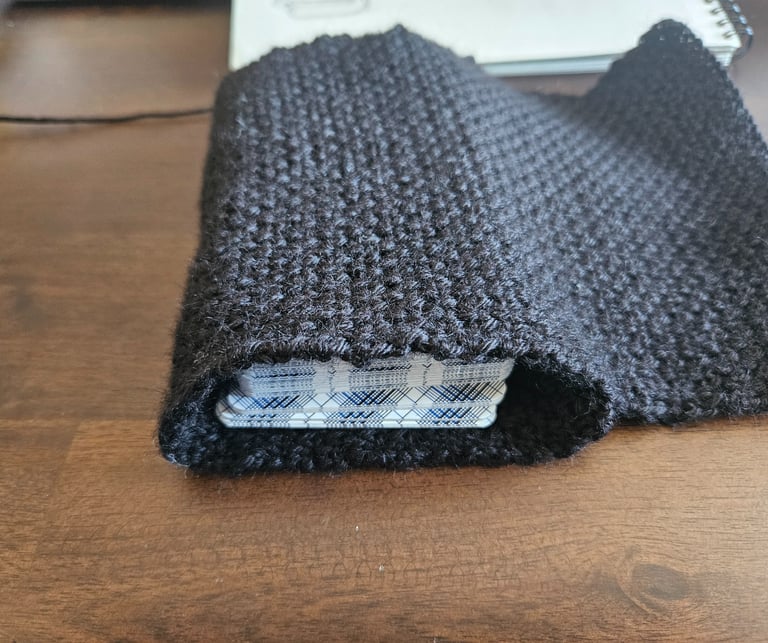
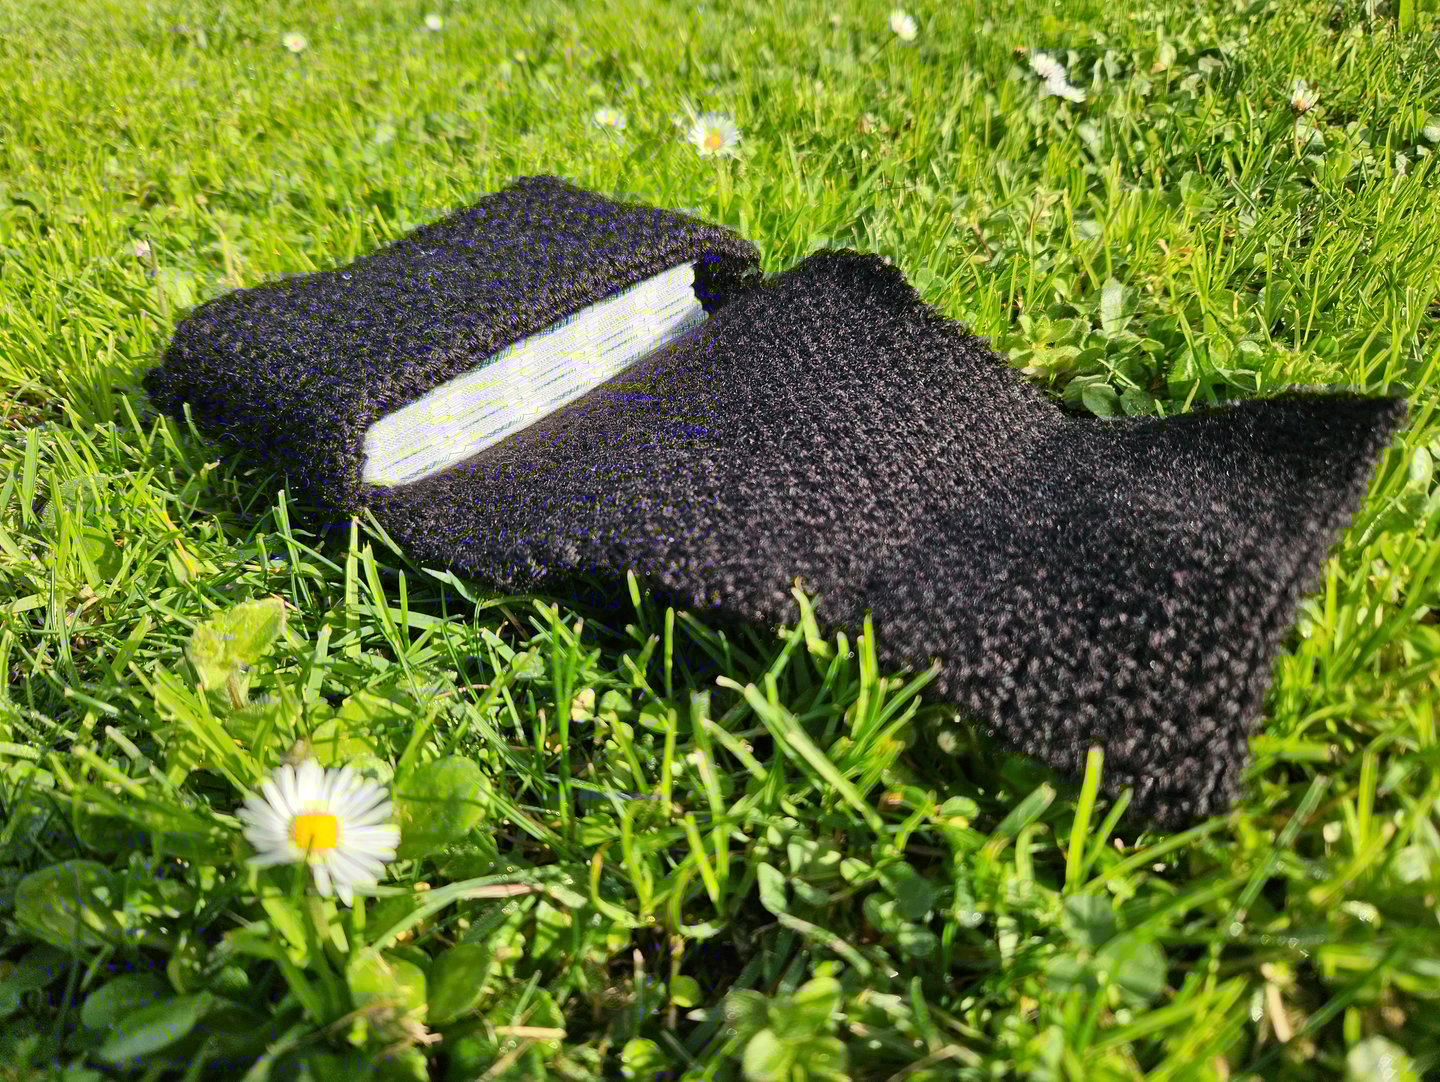
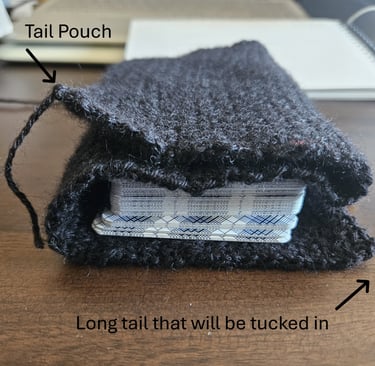
Then we're going to do the last fold, which consists of pulling the wide end back over the cards to create a slit that opens on the left side, as shown below. Adjust the cards to mimic the sizing/proportions in the picture below. You want to make sure the top flap doesn't go past the bottom left curve (not the best picture I know).
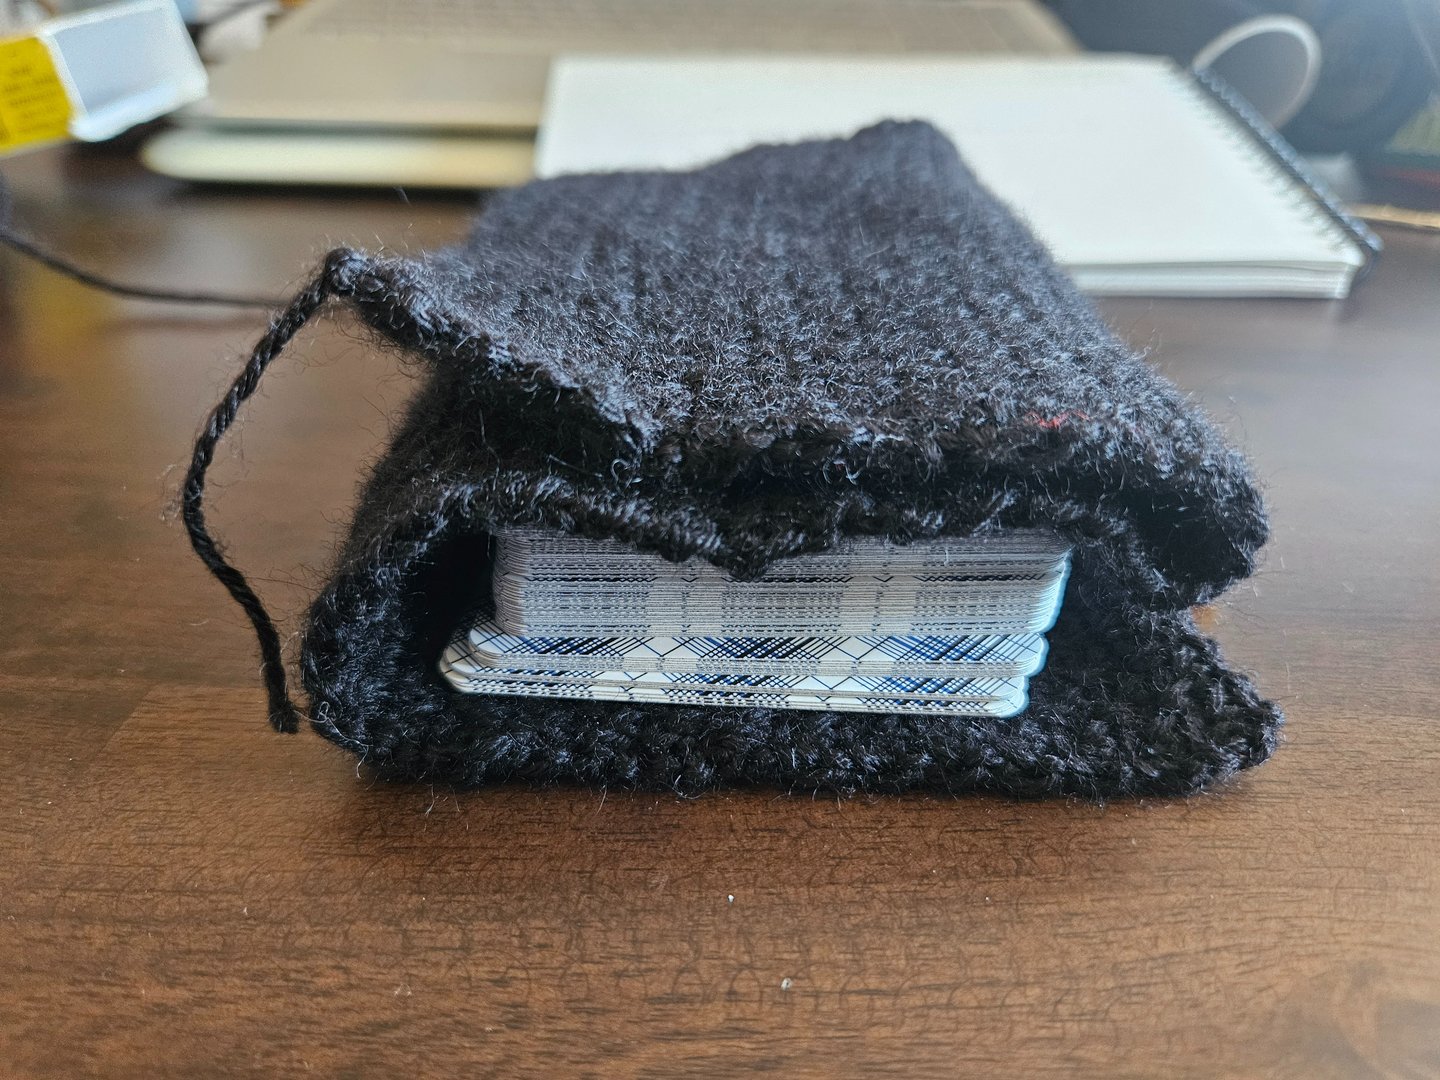
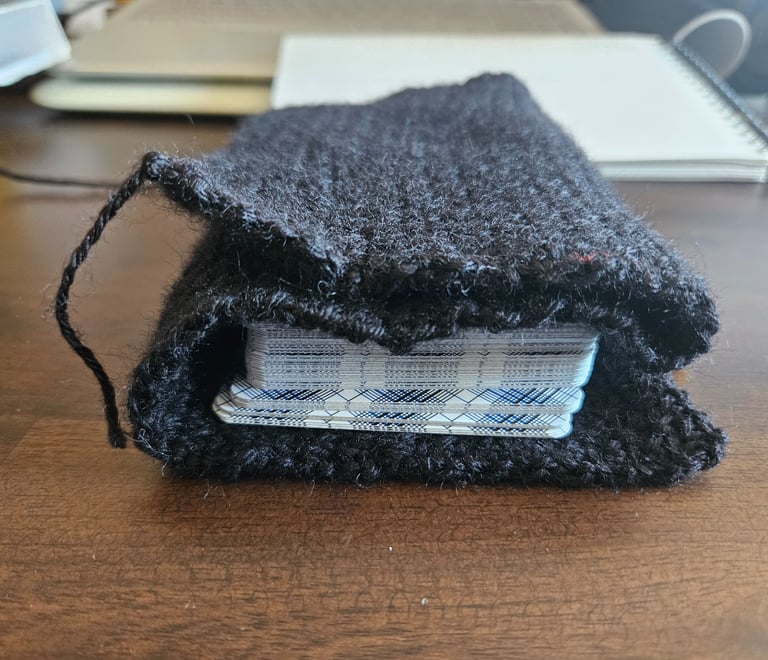
Once you have the proportions that you're happy with just sew all three edges pictured together. This will seal the bottom and top of both the card pouch and the slit to secure the long flap in.
Instead of sewing you could also crochet the sides closed. Instead of using the same color you could also add a pop of color (or a pop of black if you're using color) to give it more personal touch.